

This is the way it looks without the curtain on it. Intolerably sloppy, right??
I started this project by going to my local fabric store and choosing a simple white on white paisley cotton calico on the cheap. I went in anticipating it to be stark white muslin (cotton) but I changed my mind and decided I also wanted it to have some texture so the tone on tone pattern really worked with this. Don't you love?!

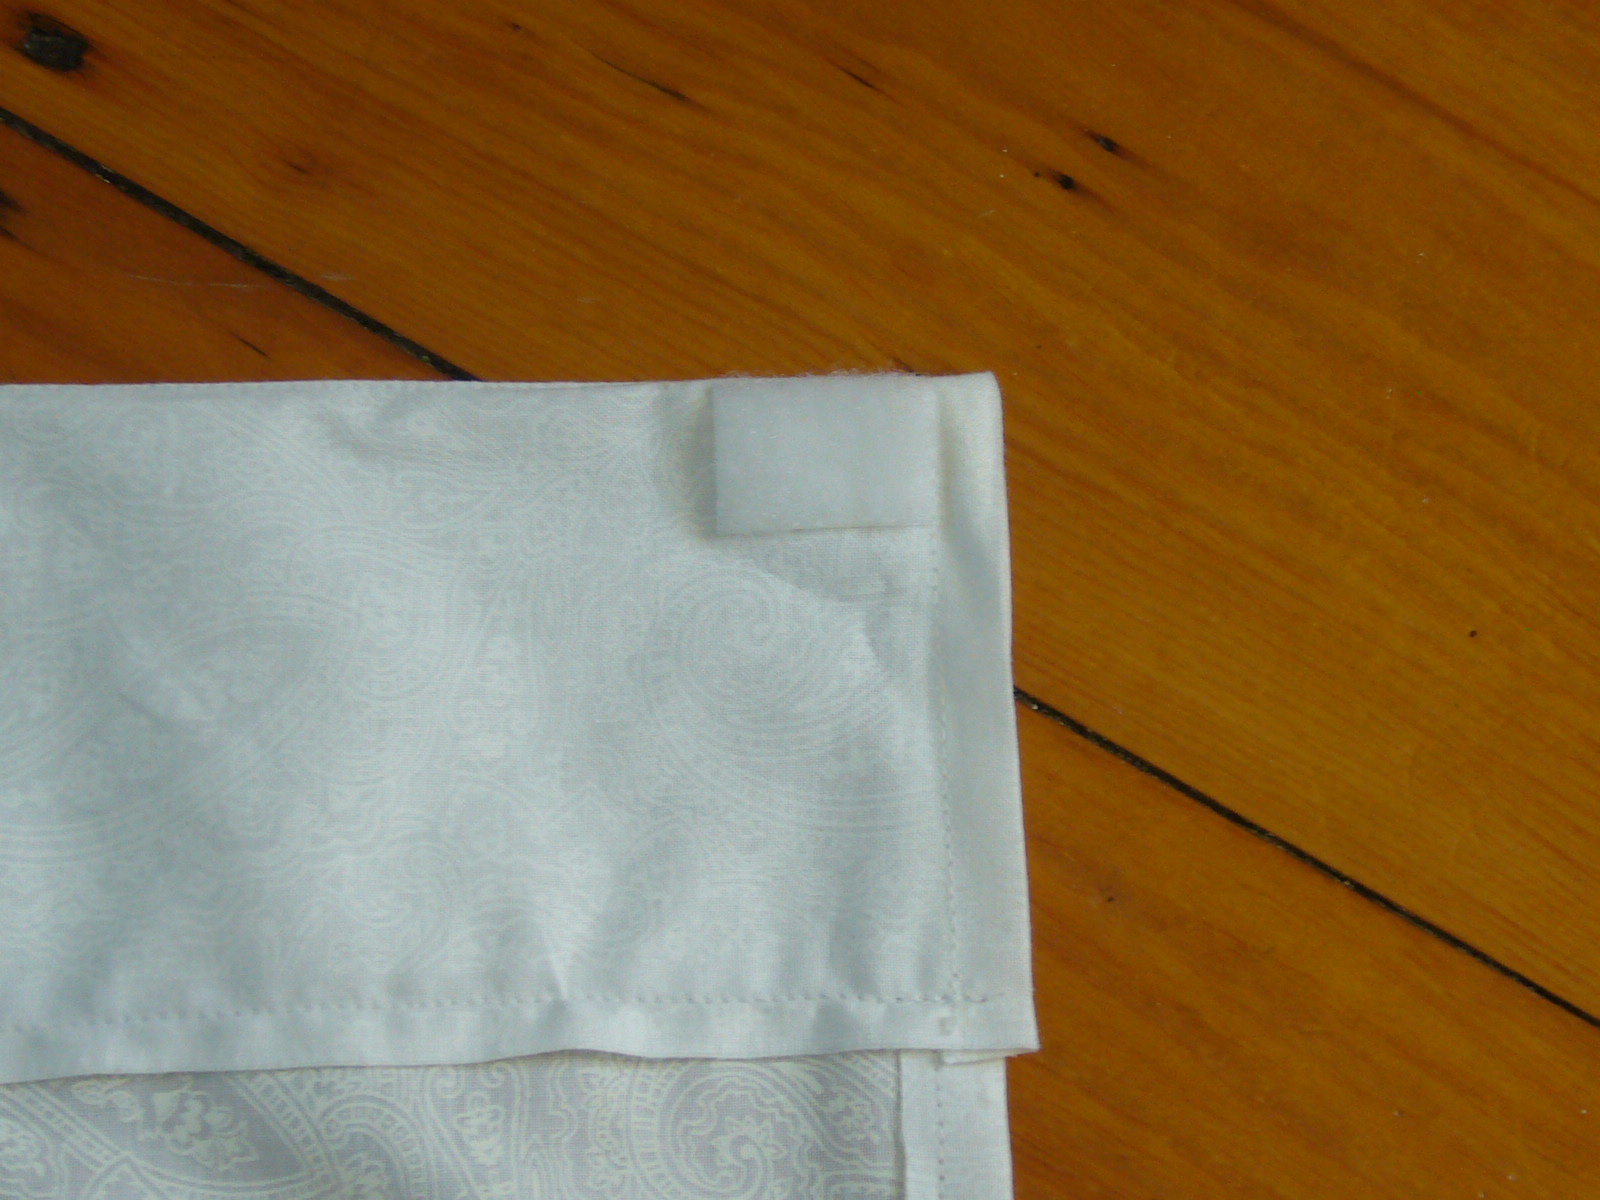
I grabbed 2 different kinds of of Velcro. I used the self adhesive version to stick to the shelf and I used the Fabric Fusion to iron on the fabric. I chose to make a wide band at the top and bottom to make it look like it has a little weight.
To start, I measured the length and width of both sides of the shelf and cut out and sewed an unlined panel to match those dimensions. I made sure to iron the Fabric Fusion onto the underside of the panels as close to the fold line before I fold the band over, press and top stitched so that it would be able to be pressed and adhere properly and would look seamless from the outside.

You can see where I've placed the looped side of the Velcro that holds up the curtains. I have one at the very furthest point of the front and in the middle. On the short side, I only have 2 pieces to hold it up.

And here is the final product hiding all that frustrating clutter!

This was a very simple project and the result lends a soft cottage-y
feel to this once severe utilitarian shelving unit.
Just as with the ottoman slip cover, I DIY'd this baby far before this blog was born. I wish I could show you step by step! But if you have any questions about how I created the panels or what I used, feel free to ask!
Stay tuned for more projects for you to tackle at home too!


Love this!
ReplyDelete