
Hey Nesters! A few of you may have seen my "tweet" that I made a very successful trip to the fabric store on Saturday. I was anxious to put at least one project into action! I decided to tackle my currently bland couch by adding a new throw pillow.

Click read on to see the step by step instructions after the jump!
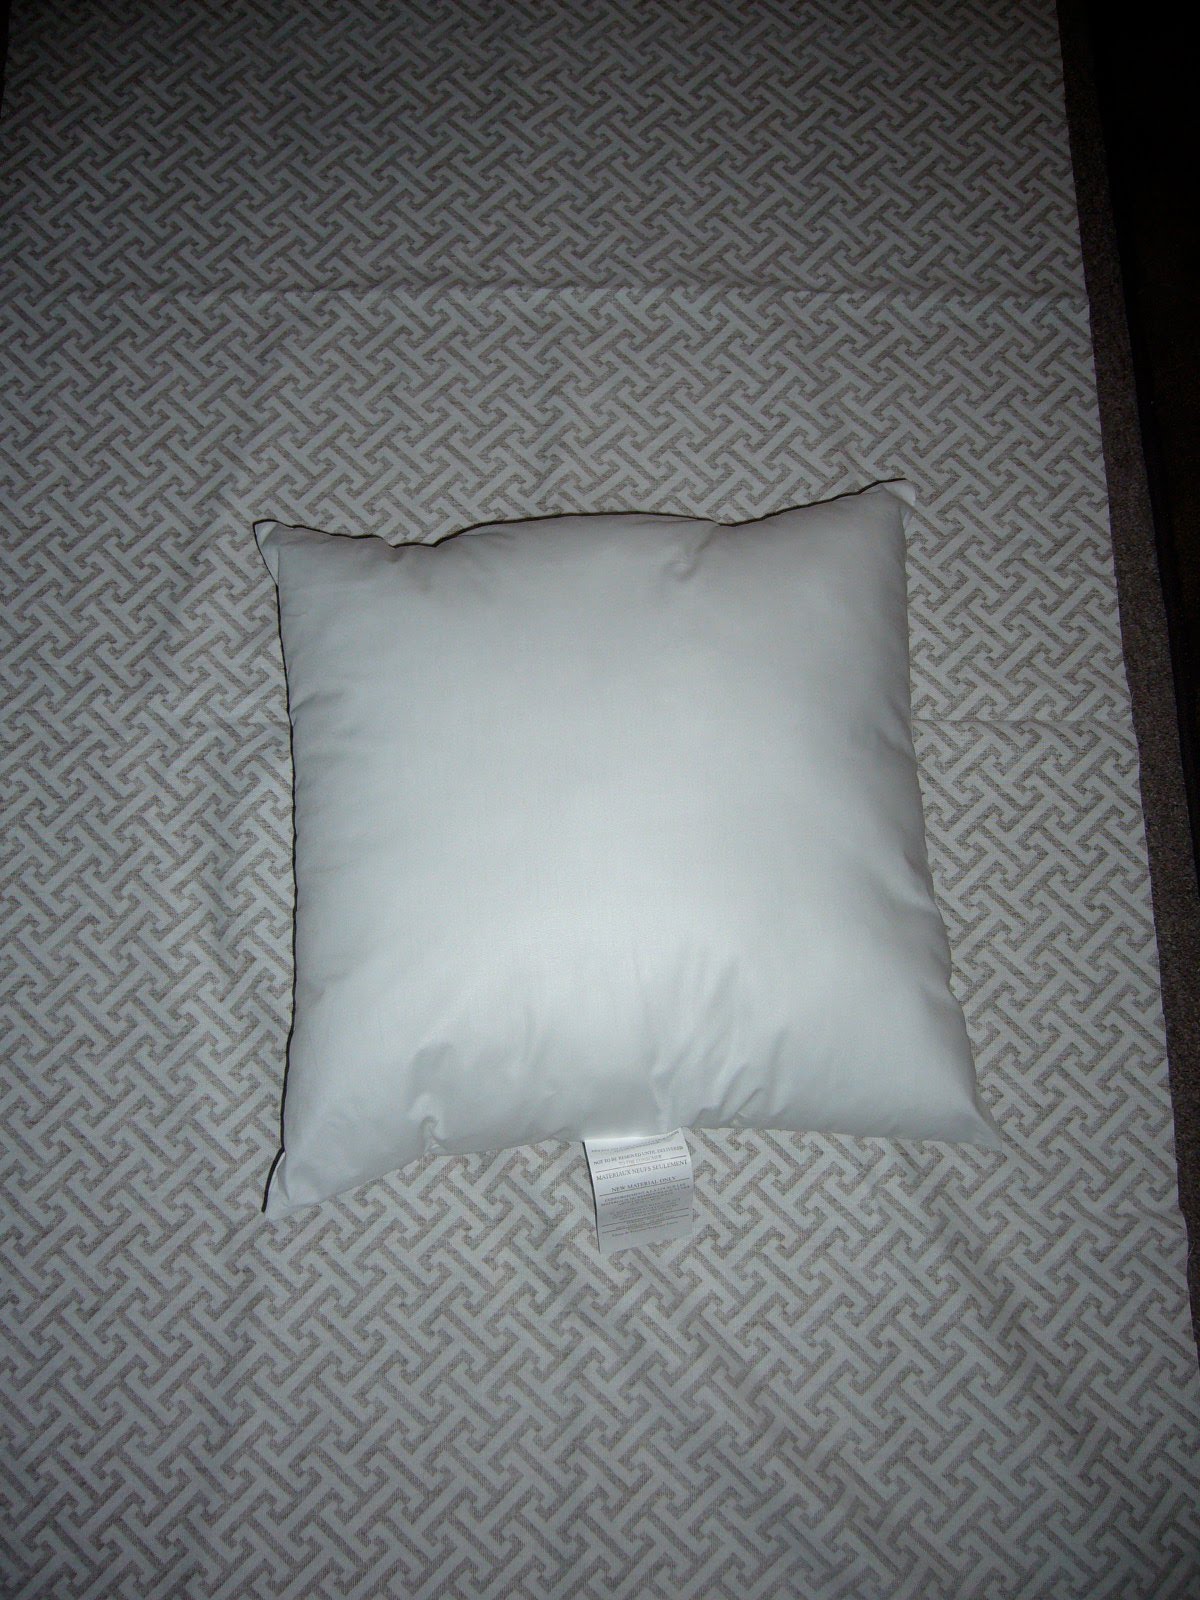
First things first, lets make sure you start out with all the fixin's:
1.) Fabric you LOVE! {I got 3/4 yd for a 16"x16" pillow. A bigger pillow means more fabric, so judge accordingly.}
2.) A pillow insert or you could just use batting but with the insert, you don't have to worry about any filling popping out. I decided to go with the 16"x16" size.
3.) Matching thread to your beloved fabric.
4.) Sewing machine... nothing fancy as long as it stitches a straight line, you're all set!
5.) Iron and ironing board.
6.) Measuring tape.
7.) Sharp scissors {Be Careful!}
Every good sewing project begins by ironing any creases in your fabric. Then I laid it out on the ground or if you have the luxury of having a nice big table you can lay it out on that.
Step 1: Was to figure out how I wanted the sham to overlap on the back. I decided I wanted it to be a 2" overlap and that I wanted it off center. After folding the fabric over the pillow testing out a few visual options I decided I wanted it to be 10" from the bottom seam. So I measured and marked on the pillow itself in order to visualize it better. I marked at the 10" point and 2" towards the bottom seam to account for the overlap.

Step 2: I measured the pillow in the other direction, from the top seam down to the overlapping point that I had marked before. If you do the math, 10" + 8"= 18" minus the 2" overlap = the 16" pillow that I bought. That's a good double check that you did your measuring correctly.

Step 3: Now that we've got measurements planned out, its time to get sewing! I folded over the bottom selvage edge up 1" with wrong sides together and pinned and pressed it to make a nice smooth, sharp edge.


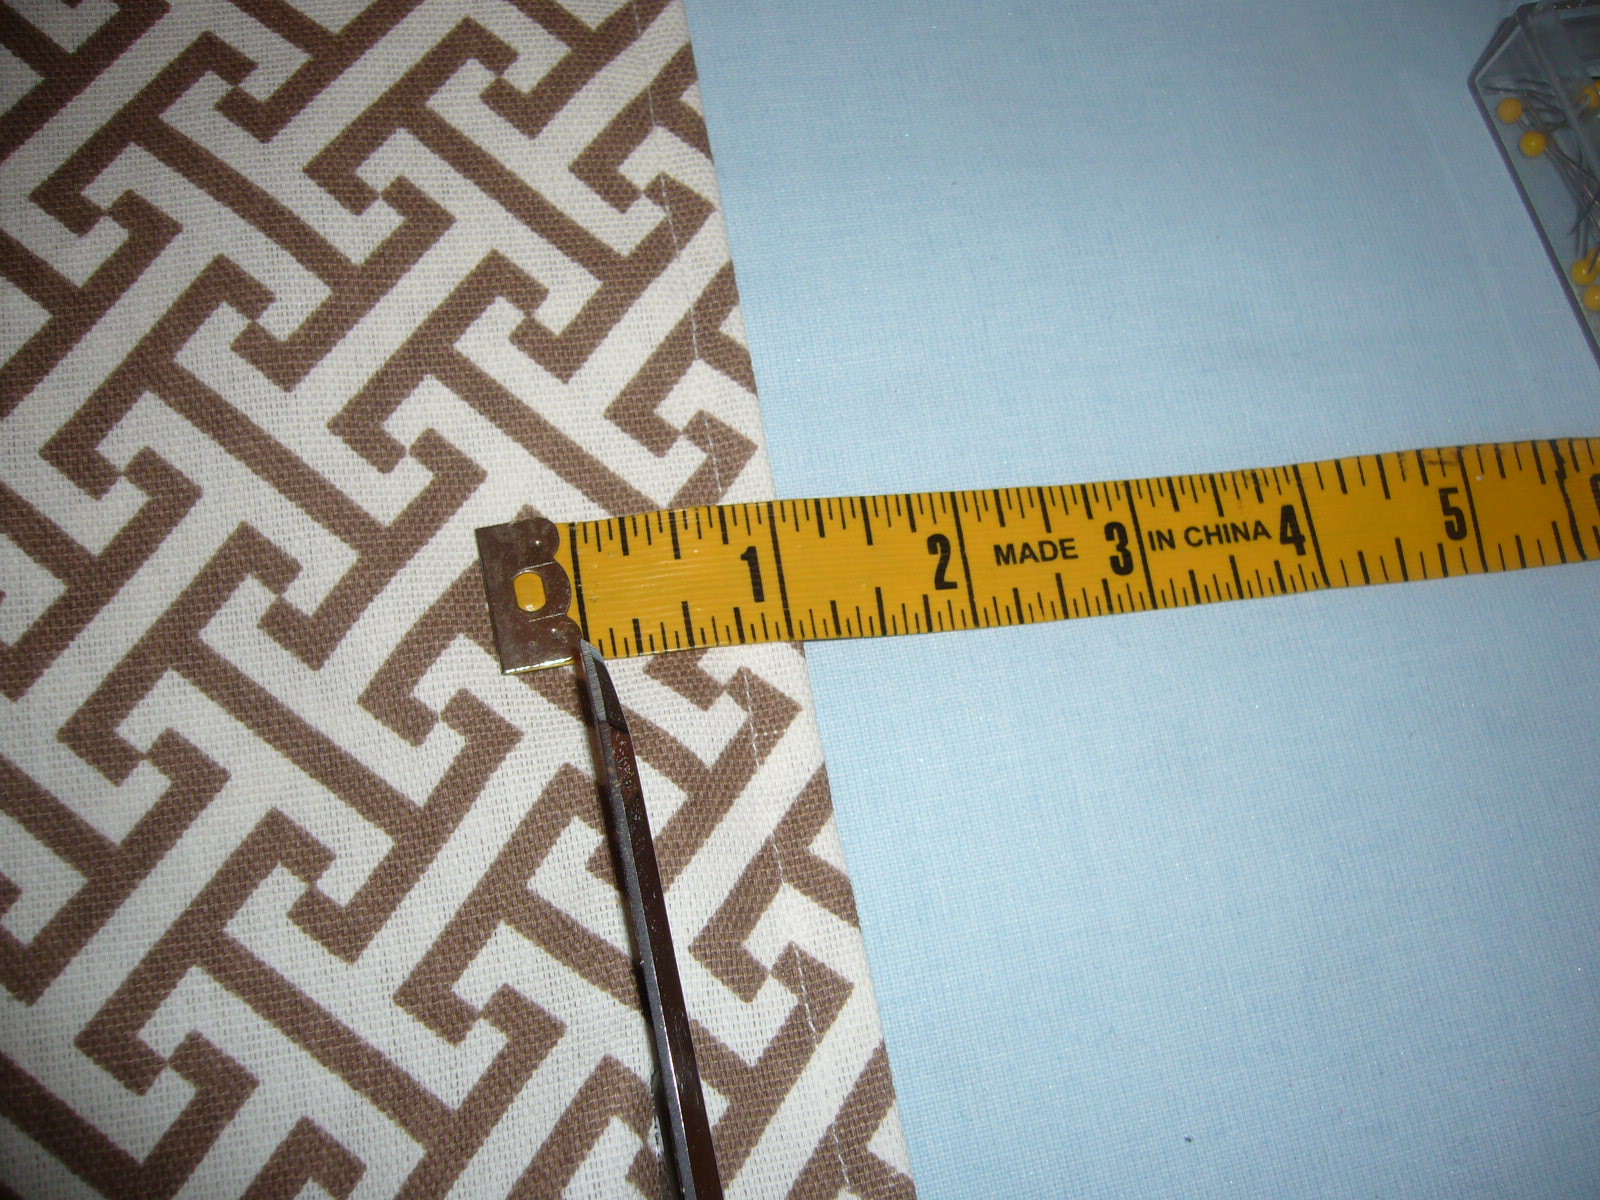
Step 4: Once pressed, head over to the sewing machine and stitch 1/4" from the folded side, reinforcing the stitches at the beginning and at the end. Note: most machine feet are approximately 1/4" from the needle {when centered} to the edge of the foot, as seen below.

Step 5: Now that you've gotten one seam complete, lay your fabric flat, face down again and reposition your pillow.

I pinned it in place at the 10" mark on the pillow itself and then pinned a marker a 2" down from the edge to represent where I want the overlapping edge to finish.

I folded the fabric, top-down and folded it back again to match the overlap marker and pinned on the unfinished end and laid the whole thing out flat again. The distance from the already finished edge to the mark was 35"


I pinned markings all along that 35" edge and brought my fabric to the ironing board.
Step 6: At this line of pins you just marked, fold the fabric wrong sides together and press flat.

Step 7: Repeat Step 4. Stitch at 1/4" from folded edge.

Step 8: Trim excess fabric 3/4" from stitch line.
Step 9: Lay fabric on the surface and place pillow on top of it to double check that everything is overlapping the way you want it to.

Perfect!
Step 10: We're almost done! Remove pillow and lay fabric right sides together, overlapping as you want it to when its actually on the pillow and pin.

Step 11: Stitch this edge at 1/2". It's a good idea also to go back and reinforce your stitching where the edges overlap, since that will be where it will be stressed the most.

Step 12: Measure 16" to the left {If you got an 18" pillow, measure 18". If you got a 24" pillow, measure 24", etc etc} and pin.

Step 13: Stitch along pinnings, reinforcing your stitching as you did in Step 11.

Step 14: Once you've stitched, trim the excess fabric leaving 3/4" seam allowance. {Don't mind this picture, I was posing and using my left hand! Be sure to leave 3/4".}

And that's it! Here it is, inside out, and pre-pillow

Turn it right side out, and insert the pillow and you've got yourself a brand new throw in about 30 minutes!
I'd love to see you give it a whirl yourself and show us the results! If you run into any problems when you are trying this yourself, shoot an email over to me and I can do my best to help you along! Good Luck!
Nester Note: See the latest pillow shams that I've created using this method right here.
Nester Note: See the latest pillow shams that I've created using this method right here.


you wanna make me some? looks great!
ReplyDeleteGreat tutorial and very timely. I was just mentioning that with my throw pillow obsession, I may need to leart to sew.
ReplyDeleteI'm so happy you find it useful Shunte! And there is no time like the present to learn new skills! Go for it! If you have any questions about pillow making (or other sewing) you can email me at temporarynest@gmail.com! Happy Stitching!
ReplyDeleteGreat Job! I just made my own pillows too but mine took a lot longer. I will need to try your method next time.
ReplyDeletexoxo
Mags
http://magsmind22.blogspot.com/2013/01/pillows.html