
Welcome back from the holidays, Nesters! I hope Santa was good to you and that no of the family members were strangled after a wee too much egg nog. With Christmas over and done with, as promised, I am going to embark upon showing you a plethora of DIYs. Here is number uno.
Felt Advent Calendar

With a little nephew on the way in a few months, Joe and Molly have been the recipients of many baby-related gifts this giving season. And though I also put on my Auntie hat and bought him his fair share of pun-laden onsies, I wanted to give them "family" presents that the baby can grow up with. One of the things I remember best about my childhood was the excitement of opening the doors of my advent calender leading up to Christmas. We just had the disposable cardboard ones that, when a door was opened, exposed pictures. Like this one...
 |
| via The Christmas Shop |
But I decided I wanted to make them something substantial that would be able to last through his childhood and become a tradition within their family. So I searched and searched and found this fabulous how-to on Purl SoHo's blog. And I pretty much took their idea of the embroidered, layered pockets, but used my own color scheme and lay out.
To start you will need:
1) Felt of your desired colors. I purchased 3-4 sheets per color at $.25 each. And I had left overs but I found it better to have too much than too little so you don't have to make an emergency run to the craft store.
2) 1 skein of embroidery thread of your desired contrasting color.
3) Coordinating sew-all thread
4) Trim of your choice.
I chose to work with only four colors: Brown background, green, red and white. I wanted to stick with a vintage, German look to it and these colors screamed vintage to me- particularly the heathered green. I also picked up two very vintage looking doilies at around $2 each and gold large and red small rick-rack also about $2 each.

STEP ONE: Choose which color(s) will be your background color and lay out 4 pieces in a square.
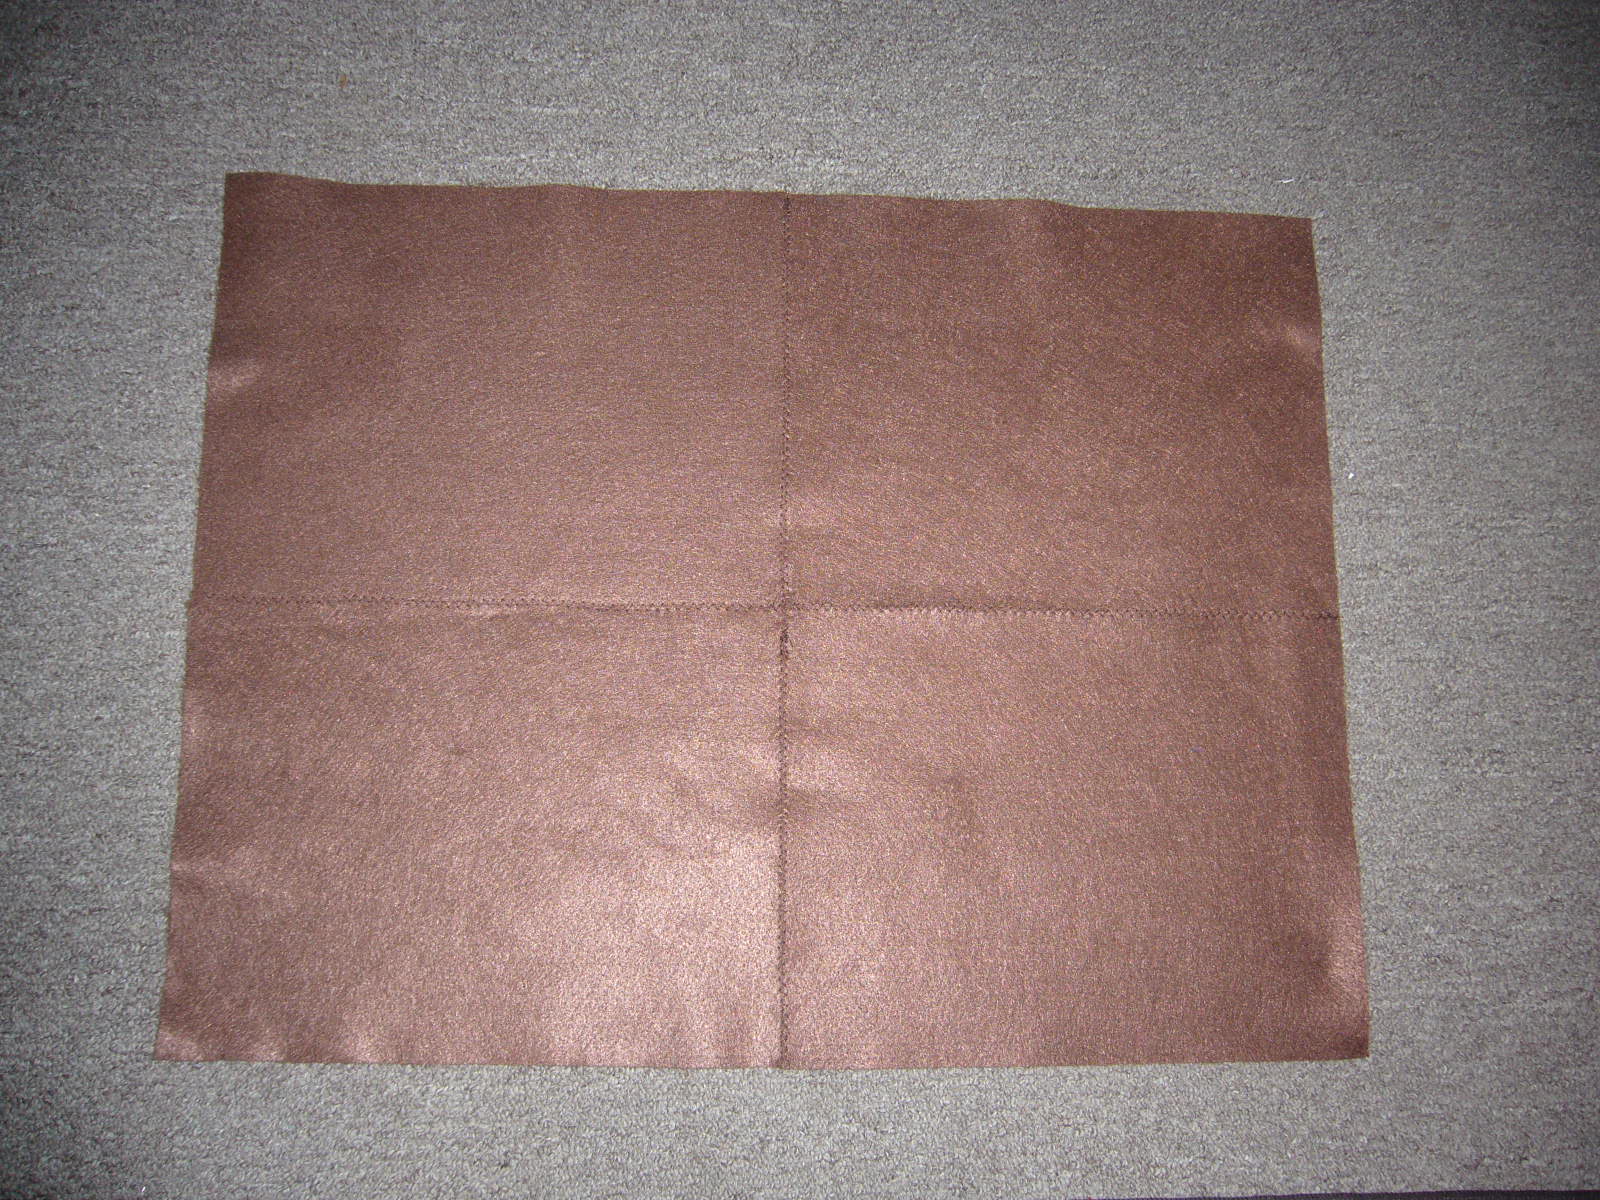
Using a zig-zag stitch on your machine, sew all four together.

I chose to have a green border because it allowed more room for my pockets and gave it a great finish. I also used the zig zag stitch to attach these.

STEP TWO: Cut out the squares for your pockets. The inner square that will be embroidered should be 2" square. The larger outer square should be about 2.5" square.

STEP THREE: Embroider your smaller squares. I chose to have red be the only color used on the inner squares {to be embroidered} and use a sage-y green embroidery thread. I just eye balled the numbers and drew directly on the felt with a red marker. I followed my marking with the chain stitch {find the tutorial here} and made my way, numbering 1 through 25 on the red squares. This took me about 2 evenings after work. Not so bad for a first-timer! Though, I will admit- numbers 1-5 ish are only so-so, after that the learning curve kicked in and I think I improved on each number!
STEP FOUR: Lay out your layered squares onto the background, sit back and admire your hard work. And then bend back over and keep on workin'.

Remove the pairs of squares {hey! that rhymes!} and pin the embroidered square to the coordinating larger square and stitch together. I chose to use a red thread and a straight stitch with this, but you can also use a contrasting thread with a zig zag stitch if you want it to be a little more decorative.

STEP FIVE: Once all your squares have been stitched together, set them aside. Now we add the trimmings to the background. I played with many different lay outs for the doilies and the rick-rack, ultimately ending up with a doily on opposite corners {the beginning and the end, gotta be kid-friendly!} with the red mini rick rack stitched atop the chunky gold rick rack.

I stitched the gold and red down separately. It would have been impossible to keep both of them straight, so I sewed the gold down first, followed by the red one on top. After that I hand stitched the doilies over all of it with gold thread.
 |
| {Notice my fingers are bright pink from the red marker used in the embroidery stage.} |
STEP SIX: Now lay your pocket squares on top of the background again, this time pinning each into place. Five pockets across and 5 pockets down. I centered the middle pocket on the center line and then worked my way out to the edges with approximately a 1/2" between each. I left 2" between each row as well. Stitch each pocket on the left, bottom and right, using a straight stitch, leaving the top open, creating the little pouch!


Step 7: Attach hanging device! I added these after the picture below was taken but this is what it essentially looked like! I used some left over red rick rack and made 3 loops large enough for a small dowel to fit through. I stitched one in the center and one on either side, about 2" in from the edge.
And once again, I didn't take a picture of the final product. I'm finding a theme here... aren't you? Anyhow, there you have it! Your very own home made advent calender! I like to think they will put little trinkets and candies in each pocket for the baby, so that next Christmas time he can work on his counting and get a treat, too! How do you like it? Did you ever have an advent calender? Or did you make one for your family? Spill those beans, we love to hear all about it!! And of course if you have any questions about making your own, feel free to leave a comment or you can email me at temporarynest at gmail dot com.
Cans for Comments update!! We've got 44 cans and only 5 days left. So, please leave your comments to support our local Salvation Army food drive! Because every little bit helps!


Cute project! I will definitely have to put this in my To Do next Christmas file :)
ReplyDeleteThis is really cute! Well done!
ReplyDelete