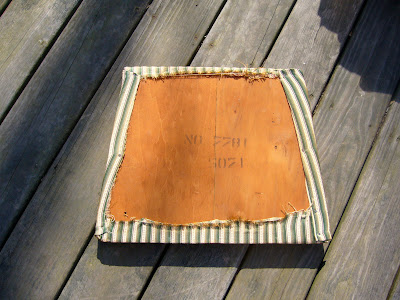
Here she is all primed and sanded and ready for some paint!
It took me a good 2 coats and next time I will be sure to spray just a little more.
I have my tools ready to go! I've been calling this project Buttercup this whole time.
Little did I know, the color is Beher's Melted Butter. Ooolala!
Here is the after for coat #1:
A few thin coats and a gorgeous spring day later, the paint was smooth and even was "like buttah!"
Now, onto removing the current seat cover and cushion to replace with a nice and modern cushy one!
Turns out there were a few layers of fabric on this baby! But I pulled the upholstery nails out of all layers to strip it down to the wood.
Here is our blank palette with all its ex-fixin's by the wayside... totally ready for the new duds!
I bought a square of 2" foam from my local fabric store and a small amount of sheet batting. I laid the wood on top of the foam and traced it with a marker and used a bread knife (I know, but the serrated edge really cuts through the foam!) to cut out the form. After that I stretched the batting as tight as I could- without damaging it- and used a staple gun to secure it and then trimmed the excess batting close to the staples but not too close or it will not hold. And I repeated this with my GORGEOUS fabric! See?
Here is the final product. Don't mind the linoleum flooring- that spring day got so cold, I had to finish it inside!
Last thing to do was wait for the frame to be dry and just screw the seat onto the frame!
And now... for Buttercup's final reveal!
**Drum Roll**
Doesn't she looks purrty? I am so proud at how this project came out. After a few trips to Home Depot and the fabric store and a few bucks later, I have a beautiful new piece for my room.
Well I hope you guys enjoyed waiting for the final results. I know I have been so motivated to finish for you all! To check out the first portion of this project, visit my Build Me Up Buttercup posting! If you have any questions or want to know more about the materials I used, leave me a comment and I'll get back to you!!


Very nicely done. I would have loved to see the choices of fabric you weighed at the fabric store. How come you went with this one in particular?
ReplyDeleteButtercup looks beautiful! And you make it look so easy. :)
ReplyDeleteThanks for the kind words guys!
ReplyDelete